To install our wheel blackout overlays, using the wet method, follow these simple steps. (click here to order)
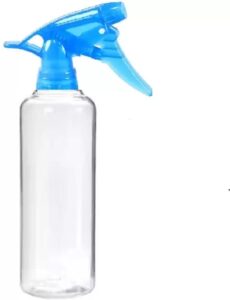
First – In a spray bottle, mix 16 ounces of water with a quarter teaspoon of Liquid Dawn or an equivalent product. For a small spray bottle, a drop or two is often enough soap.
Second – Peel the decal off of the wax paper release liner and spray the adhesive side and the wheel with the soapy water solution. Be careful not to get the paper wet.
 Third – Apply the decal to your wheel and slide it into place. Once it is in position, anchor it with one hand, and gently press out the liquid with your fingers or a cloth covered plastic squeegee.
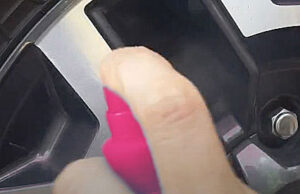 Fourth – Use a hair dryer to heat the vinyl so it is more pliable. Heat lightly at first and dab away any moisture with a soft cloth. This will press out more liquid and allow the edges to bond better to the wheel and on full coverage kits. It will also let the vinyl bend over the edges and stick. Remember, heat lightly, then dab with a soft cloth, and repeat. As the liquid evaporates, you can press harder and go from side to side with a cloth or cloth covered squeegee.
 Fifth – If there are any air bubbles in the decal, they will disappear over time, or you can use a fine needle to pierce the surface and release the air.

NOTE – please allow the decals to dry and stick to the wheel very well before driving the car. Heat from the hair dryer helps this process.
If you have questions, contact us at icutdecals@outlook.com .
Click Here for an Installation Video.